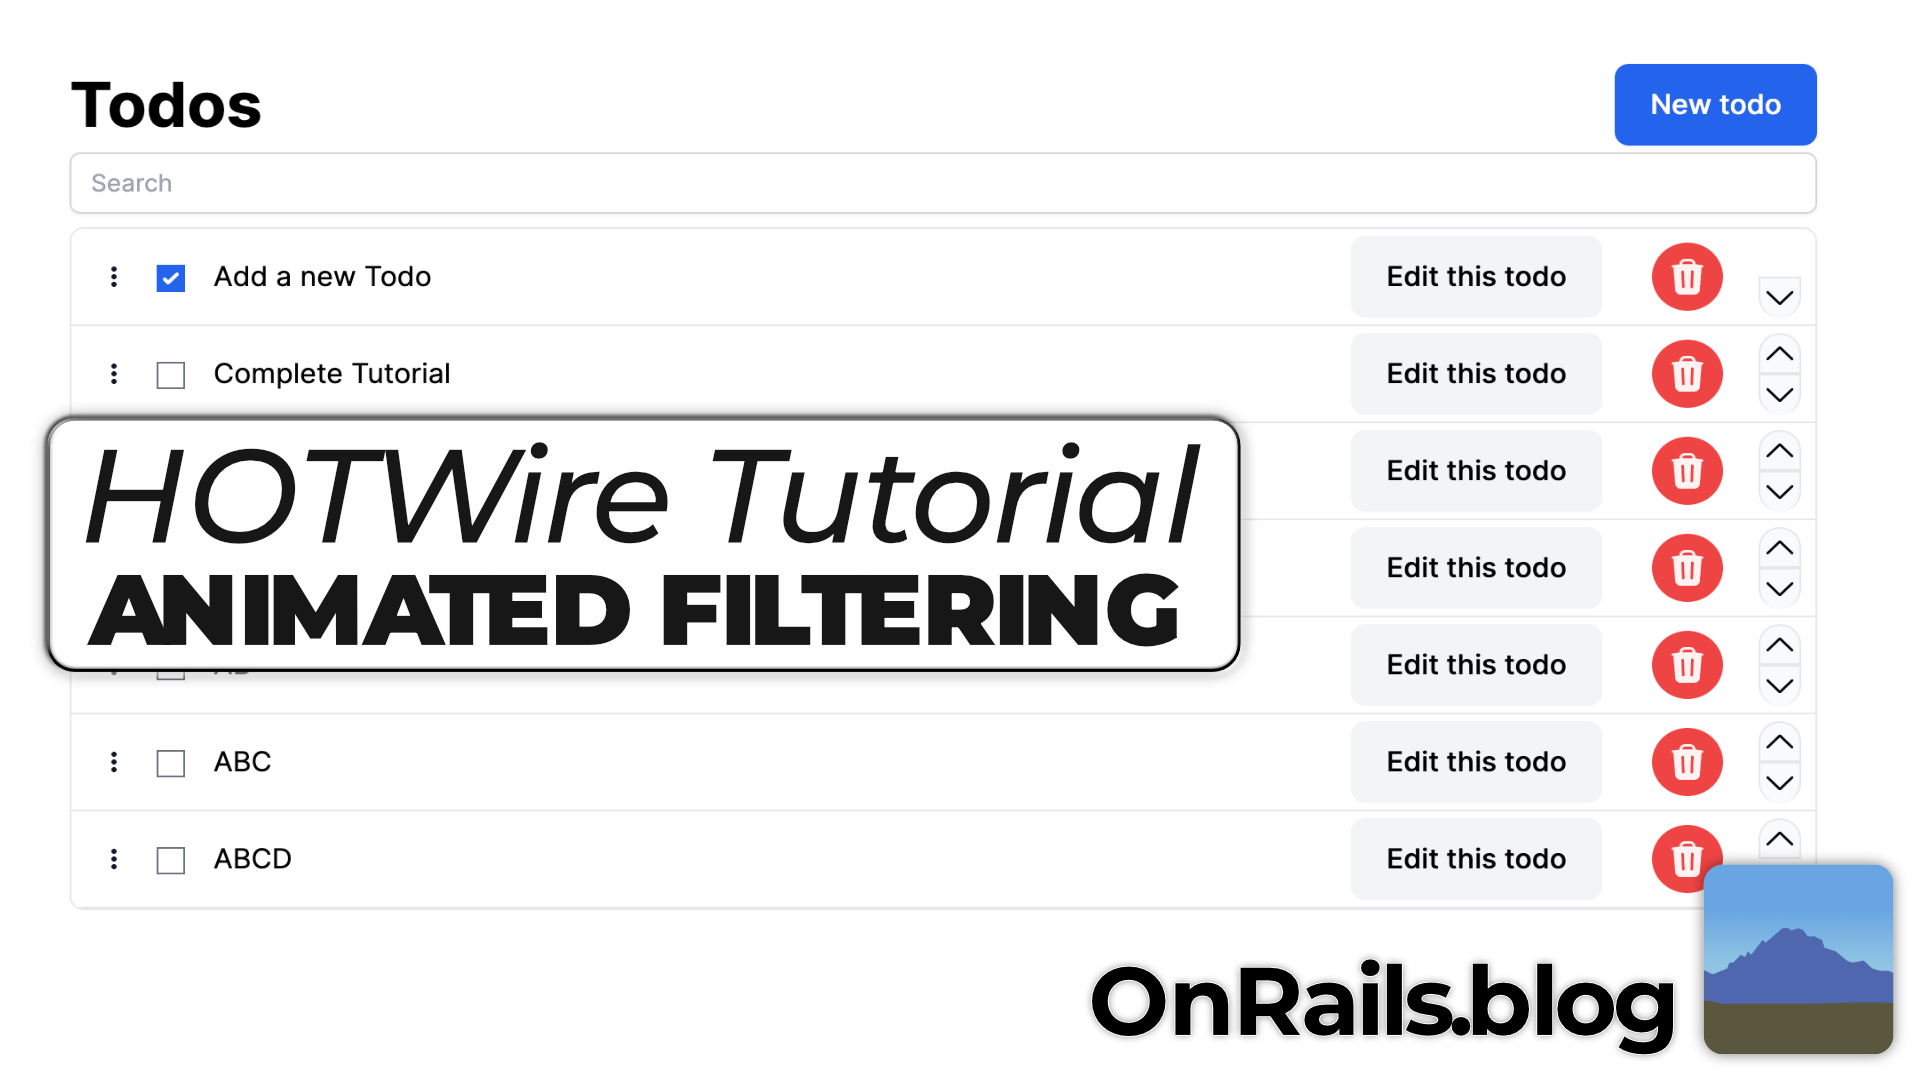
We can progressively enhance the filtering search. In the previous tutorial, we saw how easy it is to use Turbo 8’s morphing and a very simple Stimulus controller to trigger the request back to the server. We can dig deeper into the events and get a very satisfying animation of Todos disappearing when they’re filtered out, and reappearing when they are back in the list.
Listening for Morphing
Our Stimulus controller is going to get some new methods. It will hook into the Turbo event stream. The first change is to add the replace option to the Turbo visit in the controller. This will effectively make Turbo morph the new changes on the page 1. We want morphing, because we can listen for the upcoming changes, and tweak the behavior for elements that are changing. This will fire the morphing events.
Animating removals
Removing items is easier, since we get the items that are going to be removed from the page, and we tell Turbo not to remove them. Now, we handle the removal, after a pleasing animation.
Add a new action to the Search controller: turbo:before-morph-element@document->search#animateRemovals. This will be called every time an element inside the page is going to change, so I added a data attribute to the Todo items to flag that they should be animated away: data-animate-exit="true" . The animateRemovals method in the Search controller will check that this property exists. turbo:morph-element will have a property called newElement if the element getting replaced. Since the Todos are getting filtered, and will no longer be on the page, the newElement will be null. Once we have the element to animate away, calling preventDefault() on the event will cancel the element form being removed. Our controller takes over the responsibility for removing the element by calling a animateExit() function that can be tweaked for the preferred animation style.
  animateRemovals(event) {
    if (event.detail.newElement == null && event.target.dataset.animateExit) {
      event.preventDefault();
      this.animateExit(event.target);
    }
  }

  async animateExit(target) {
    target.animate(
      [
        {
          transform: `scale(1, 1)`,
          transformOrigin: "center",
          height: "auto",
          opacity: 1.0,
        },
        {
          transform: `scale(0.9, 0.7)`,
          opacity: 0.2,
          height: "80%",
          offset: 0.8,
        },
        {
          transform: `scaleY(0.8, 0)`,
          transformOrigin: "center",
          height: 0,
          opacity: 0,
        },
      ],
      {
        duration: 75,
        easing: "ease-out",
      }
    );
    await Promise.all(
      target.getAnimations().map((animation) => animation.finished)
    );
    target.remove();
  }
The animation in this case uses keyframes to collapse and shrink the Todo as its opacity changes. Play around with what makes sense for your application.
Animating Insertions
Animating new elements is trickier. It requires listening for the turbo:morph-element event, which fires after all the changes have been made on the page, but before the page is redrawn. This allows us to make some visual changes to the new Todo elements. The challenge is figuring out which elements need to be animated in. In the case of this event, event.details.newElement refers to the old list, and event.target refers to the list in the dom. First, it goes through the old list to collect all the existing Todo ids. Then it goes through the new list to find ids that are new, and then it animates each of those new Todos.
  animateInsertions(event) {
    if (
      event.target.childNodes.length > event.detail.newElement.childNodes.length
    ) {
      var existingIds = new Set();
      for (var i = 0; i < event.detail.newElement.childNodes.length; i++) {
        let child = event.detail.newElement.childNodes[i];
        if (
          child.nodeName != "#text" &&
          child.dataset.animateEntrance &&
          child.id != null
        ) {
          existingIds.add(child.id);
        }
      }
      for (var i = 0; i < event.target.childNodes.length; i++) {
        let child = event.target.childNodes[i];
        if (
          child.nodeName != "#text" &&
          child.dataset.animateEntrance &&
          child.id != null &&
          !existingIds.has(child.id)
        ) {
          this.animateEntrance(child);
        }
      }
    }
  }
The animation first sets the height to 0, and shrinks the Todo, and animates the it expanding to fit the size of its original view. Make sure you play around with these different values depending on what you need for your application.
  async animateEntrance(target) {
    target.animate(
      [
        {
          transform: `scale(0.8, 0.0)`,
          transformOrigin: "center",
          height: "0",
          opacity: 0.0,
        },
        {
          transform: `scale(0.9, 0.7)`,
          opacity: 0.2,
          height: "80%",
          offset: 0.2,
        },
        {
          transform: `scale(1, 1)`,
          transformOrigin: "center",
          height: "auto",
          opacity: 1,
        },
      ],
      {
        duration: 100,
        easing: "ease-out",
      }
    );
  }
Final enhancement
As I was playing with the searching, I realized I don’t necessarily want to hint to the reordering features. I found hiding the buttons was a visual indicator that you may not want to do that. What’s neat is using CSS to hide the buttons when there is text in the search field.
#search:not(:placeholder-shown) + div {
  .todo > div > button.up,
  .todo > div > button.down {
    animation-duration: .2s;
    animation-name: fadeOut;
    animation-timing-function: ease-in-out;
    animation-fill-mode: forwards;
  }
}

@keyframes fadeOut {

  0% {
    transform: scale(1);
    transform-origin: center;
    height: "auto";
    opacity: 1.0;
  }

  20% {
    transform: scale(1.2);
    transform-origin: center;
    height: "auto";
    opacity: 0.8;
  }

  100% {
    transform: scale(0);
    transform-origin: center;
    height: 0;
    opacity: 0;
    visibility: hidden;
  }
}
Interactive Apps
It’s quite possible, and very straightforward to add nice animations as enhancements of our existing applications with just a little Stimulus and the amazing Javascript animations the browsers all support.
You can find the source code at this point on Github.
