
If you’ve been following the changes in Turbo 8, it looks incredibly promising for improving the perception of speed and interactivity on our web apps.
A lot of the Stimulus Tutorials could use an update since they were first written, so I thought it would be good to over existing tutorials and rethink them with the newest tools available. Join me as we rebuild the Stimulus Tutorial “How do I Drag and Drop Items in a list
Setting Priority
We’ll build off the previous example and add a priority order. This will be used sort the Todos.
$ rails g migration AddPriorityToTodo priority:integer
$ rails db:migrate
If there are existing Todos in the database, go ahead and set the priority to the id of the existing Todo:
$ rails c
* Todo.all.each do |todo|
*   todo.priority = todo.id
*   todo.save
> end
In the todos_controller.rb, make the index method sort the Todos by this new priority field:
def index
  @todos = Todo.all.order("priority")
end
And when creating a new Todo, we should set the priority to its ID after creating it by using a callback. This is a simplification since we only have a single Todo model in our application, and you may want to set priority based on other models that you design, like a Project or a List.
class Todo < ApplicationRecord
  after_create :set_priority

  private

  def set_priority
    self.priority = id
    save
  end
end
There are two parts we need to build next. A stimulus controller for the front end, and new rails controller to shuffle around the Todos and put them in the correct order by priority.
Reorder Stimulus Controller
Like in the previous drag and drop tutorial, the controller needs to listen to a number of events to handle the dragging of an item. You can generate it with this command:
$ rails g stimulus reorder
The controller will use the css classes feature to apply styling as the list of Todos becomes active, as the dragged item moves around, and as a potential drop target is hovered over. This creates a very interactive effect, and helps show what the drag is doing. These go at the top of the controller:
static classes = ["activeDropzone", "activeItem", "dropTarget"];
The first event the controller listens for is dragstart. The dragstart() method will add the CSS classes to the element and the dragged item to provide more visual information as the drag happens. The drag event can transfer information, and the controller will set the id of the item that’s being dragged so when it can be referred to when it’s dropped.
  dragstart(event) {
    this.element.classList.add(...this.activeDropzoneClasses);
    const draggableItem = getDataNode(event.target);
    draggableItem.classList.add(...this.activeItemClasses);
    event.dataTransfer.setData(
      "application/drag-key",
      draggableItem.dataset.reorderableId
    );
    event.dataTransfer.effectAllowed = "move";
  }
The next event is dragover. It’s important to listen and respond to true so that we can eventually drop the Todo in the list.
  dragover(event) {
    event.preventDefault();
    return true;
  }
At the bottom of the controller, there is a helper helper to get the parent div of the Todo that holds the reorderable id:
function getDataNode(node) {
  return node.closest("[data-reorderable-id]");
}
This is used in the next few methods. dragenter and dragleave work together to change the appearance of the potential drop target. Both find the Todo node in the DOM. dragenter() adds the drop target styling with CSS classes, and then sets all the children pointer events to none so that the inner items, like the checkbox, the text, and the buttons don’t fire their own dragenter events. dragleave() removes the CSS classes, and unset’s the pointer events on the children elements.
  dragenter(event) {
    let parent = getDataNode(event.target);
    if (parent != null && parent.dataset.reorderableId != null) {
      parent.classList.add(...this.dropTargetClasses);
      for (const child of parent.children) {
        child.classList.add("pointer-events-none");
      }
      event.preventDefault();
    }
  }

  dragleave(event) {
    let parent = getDataNode(event.target);
    if (parent != null && parent.dataset.reorderableId != null) {
      parent.classList.remove(...this.dropTargetClasses);
      for (const child of parent.children) {
        child.classList.remove("pointer-events-none");
      }

      event.preventDefault();
    }
  }
The drop() method uses a helper method to get the CSRF token:
function getMetaValue(name) {
  const element = document.head.querySelector(`meta[name="${name}"]`);
  return element.getAttribute("content");
}
The drop method gets the id the Todo that was dragged and the Todo that was dropped down. It doesn’t do anything special to validate the ordering, but it uses the fetch API to send an update to the rails controller we’ll add in the next section. It also repositions the dragged item in the DOM by comparing the document position and then inserting the item as an adjacent element.
  drop(event) {
    this.element.classList.remove(...this.activeDropzoneClasses);

    const dropTarget = getDataNode(event.target);
    dropTarget.classList.remove(...this.dropTargetClasses);
    for (const child of dropTarget.children) {
      child.classList.remove("pointer-events-none");
    }

    var data = event.dataTransfer.getData("application/drag-key");
    const draggedItem = this.element.querySelector(
      `[data-reorderable-id='${data}']`
    );

    if (draggedItem) {
      draggedItem.classList.remove(...this.activeItemClasses);

      if (
        dropTarget.compareDocumentPosition(draggedItem) &
        Node.DOCUMENT_POSITION_FOLLOWING
      ) {
        let result = dropTarget.insertAdjacentElement(
          "beforebegin",
          draggedItem
        );
      } else if (
        dropTarget.compareDocumentPosition(draggedItem) &
        Node.DOCUMENT_POSITION_PRECEDING
      ) {
        let result = dropTarget.insertAdjacentElement("afterend", draggedItem);
      }

      let formData = new FormData();
      formData.append(
        "reorderable_target_id",
        dropTarget.dataset.reorderableId
      );

      fetch(draggedItem.dataset.reorderablePath, {
        body: formData,
        method: "PATCH",
        credentials: "include",
        dataType: "script",
        headers: {
          "X-CSRF-Token": getMetaValue("csrf-token"),
        },
        redirect: "manual",
      });
    }
    event.preventDefault();
  }
Finally, the dragend event is used to remove CSS classes:
  dragend(event) {
    this.element.classList.remove(...this.activeDropzoneClasses);
  }
Priority Controller
First, put in a new directive to the routes.rb file to add a route to the priorities_controller.rb:
  resources :todos do
    resource :priority, only: [:update]
  end
The priorities_controller.rb will only have one method, update. It will find the Todo that was dragged, and the Todo that was the drop target. Then, depending on the ordering, the priority on the all the Todos between those two items are swapped. The Upset command is used to update all the Todos at once.
class PrioritiesController < ApplicationController
  def update
    @todo = Todo.find_by_id params[:todo_id]
    @new_priority_todo = Todo.find_by_id params[:reorderable_target_id]

    if !@new_priority_todo.nil?
      old_priority = @todo.priority
      new_priority = @new_priority_todo.priority

      if old_priority > new_priority
        todos = todos(new_priority..old_priority)
        (0..(todos.length - 2)).each do |i|
          first_todo = todos[i]
          second_todo = todos[i + 1]
          temp_priority = first_todo[:priority]
          first_todo[:priority] = second_todo[:priority]
          second_todo[:priority] = temp_priority
        end
        todos[todos.length - 1][:priority] = new_priority
        Todo.upsert_all(todos)
      elsif old_priority < new_priority
        todos = todos(old_priority..new_priority)
        (todos.length - 1).downto(1).each do |i|
          first_todo = todos[i - 1]
          second_todo = todos[i]
          temp_priority = first_todo[:priority]
          second_todo[:priority] = first_todo[:priority]
          second_todo[:priority] = temp_priority
        end
        todos[0][:priority] = new_priority
        Todo.upsert_all(todos)
      end
    end
  end

  private

  def todos(range)
    Todo.where(priority: range).order(:priority)
      .pluck(:id, :priority, :updated_at, :created_at)
      .map { |id, priority, created_at, updated_at| {id: id, priority: priority, updated_at: updated_at, created_at: created_at} }
  end
end
Wiring up the Front End
Finally, let’s add the annotations Stimulus needs in order to work. First, add the controller directives in todos\index.html.erb. Note the six drag actions that direct the drag and drop actions. The CSS classes are also setup with a number of Tailwind CSS classes.
<div id="todos"
    class="min-w-full mt-1 overflow-hidden border rounded-lg"
    data-controller="reorder"
    data-action="dragstart->reorder#dragstart dragover->reorder#dragover dragenter->reorder#dragenter dragleave->reorder#dragleave drop->reorder#drop dragend->reorder#dragend"
    data-reorder-active-dropzone-class="border-dashed bg-gray-50 border-slate-400"
    data-reorder-active-item-class="shadow"
    data-reorder-drop-target-class="shadow-inner shadow-gray-500">
The todos/_todo.html.erb needs three values, and then a visual drag icon is added. The first one is setting draggable to true, and set the reorderable-id and the reorderable-path that are used by Stimulus.
<div id="<%= dom_id todo %>"
  class="flex items-center py-3 bg-white border-b gap-x-4"
  data-reorderable-id="<%= todo.id %>"
  data-reorderable-path="<%= todo_priority_path(todo) %>"
  draggable="true">
  <div class="w-4 h-full -my-3 text-gray-900 rounded-sm hover:bg-gray-300 active:bg-gray-400 hover:cursor-grab active:cursor-grabbing" >
    <svg xmlns="http://www.w3.org/2000/svg" viewBox="0 0 16 16" fill="currentColor" class="w-4 h-10">
      <path d="M8 2a1.5 1.5 0 1 1 0 3 1.5 1.5 0 0 1 0-3ZM8 6.5a1.5 1.5 0 1 1 0 3 1.5 1.5 0 0 1 0-3ZM9.5 12.5a1.5 1.5 0 1 0-3 0 1.5 1.5 0 0 0 3 0Z" />
    </svg>
  </div>

<!--... remaining Todo HTML is untouched -->
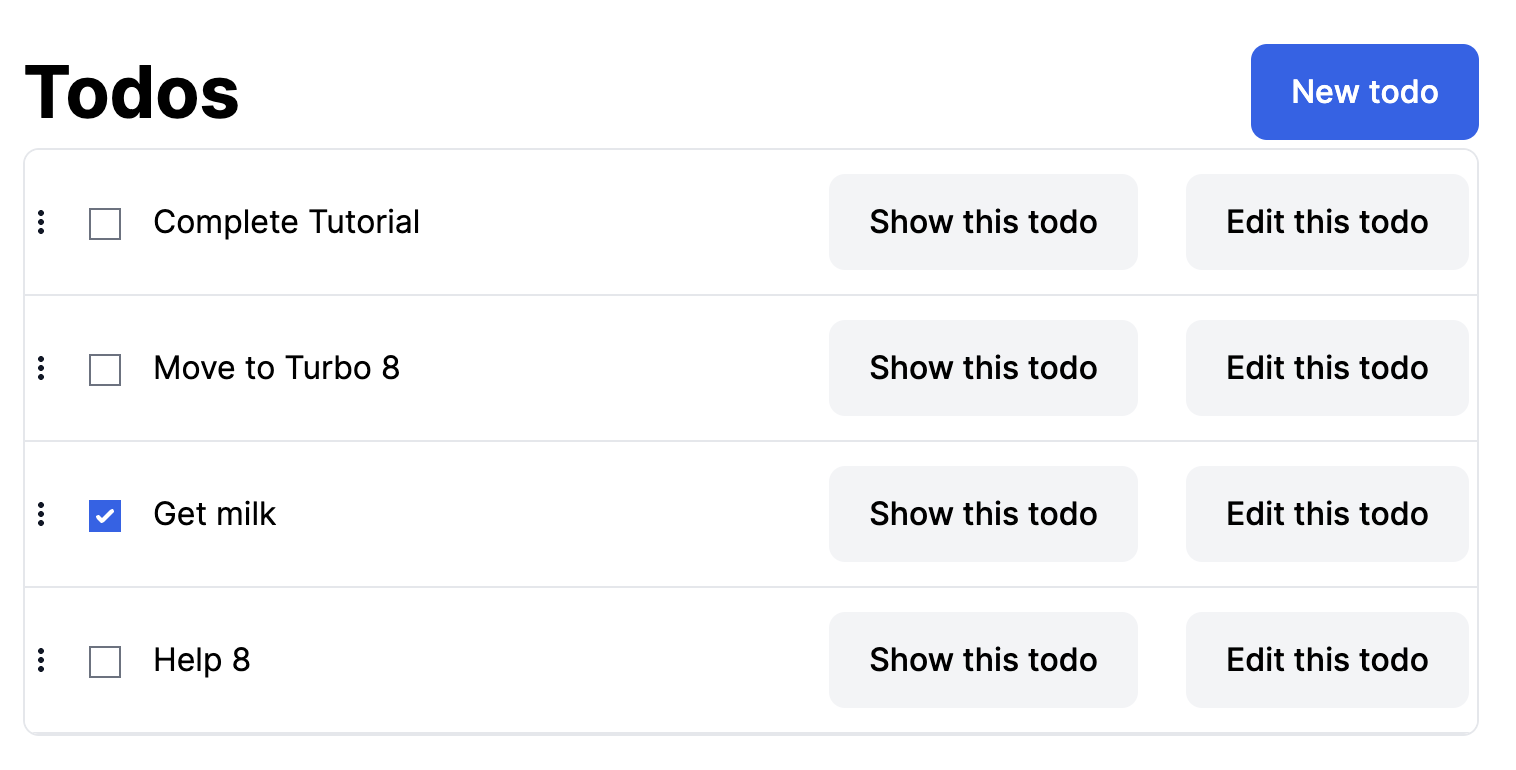
Now there is some very interactive Drag and Drop functionality on the Todo list.
You can find the code on Github here.
One comment on “Hotwire Tutorial: How Do I Drag and Drop Items in a List?”
[…] There is an updated version that takes advantage of HOTWire and Turbo 8 Changes here. […]